How to set up WatchGuard Dimension on AWS and add Fireboxes
This document is a guide on how to set up the WatchGuard Dimension Instance on the Amazon Web Services cloud platform and connect a Firebox for Dimension command.
You will need to have set up an Amazon Web Services account first. Contact WatchGuard Support and request the WatchGuard Dimension Instance for AWS. They will need your AWS Account ID number and also your AWS Region.
Procedure to set up WatchGuard Dimension as an Instance in AWS.
1. Once they have confirmed it has been added, log in to your AWS account and browse to the EC2 Dashboard.
2. Select AMIs and then filter by Private Images under the Actions tab as below.
3. Select the Actions tab and select Launch

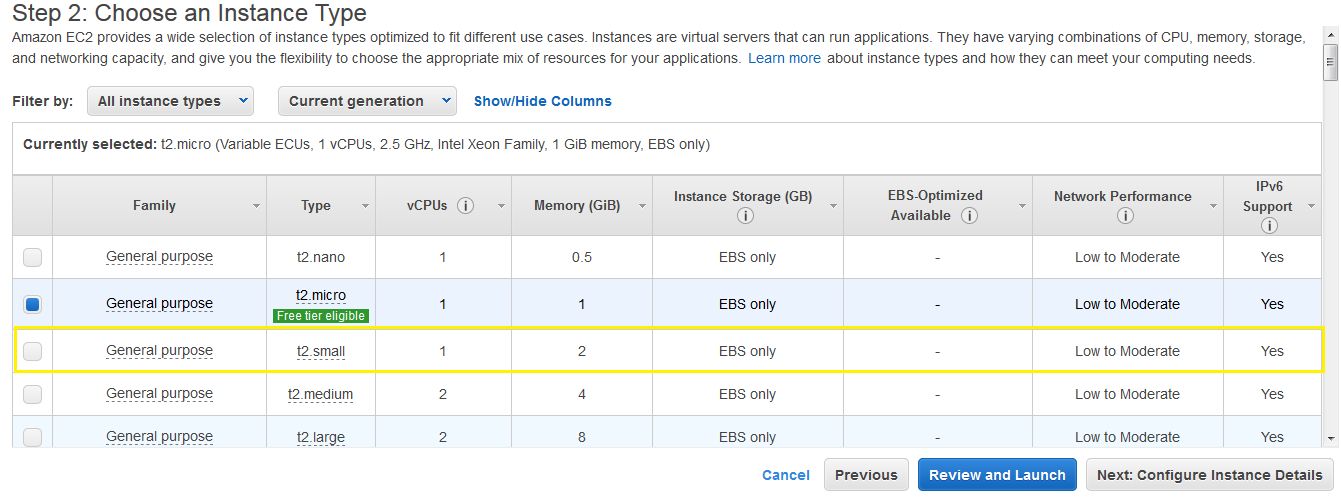
4. As WatchGuard Dimension requires at least 2Gb Ram you will need to select at least the T2 Small Instance type.
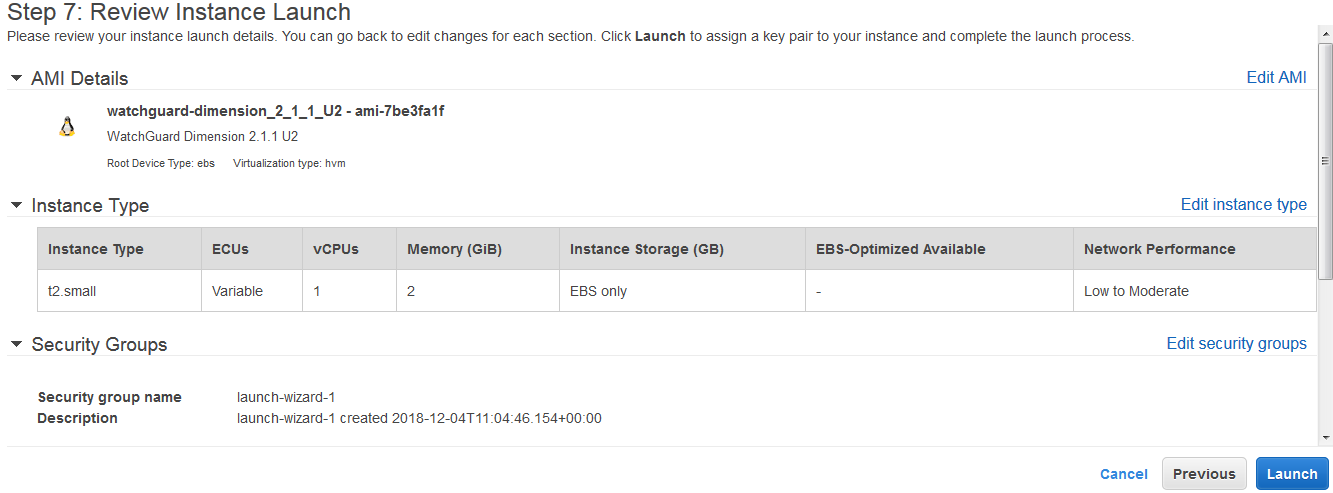
5. Review and select Launch
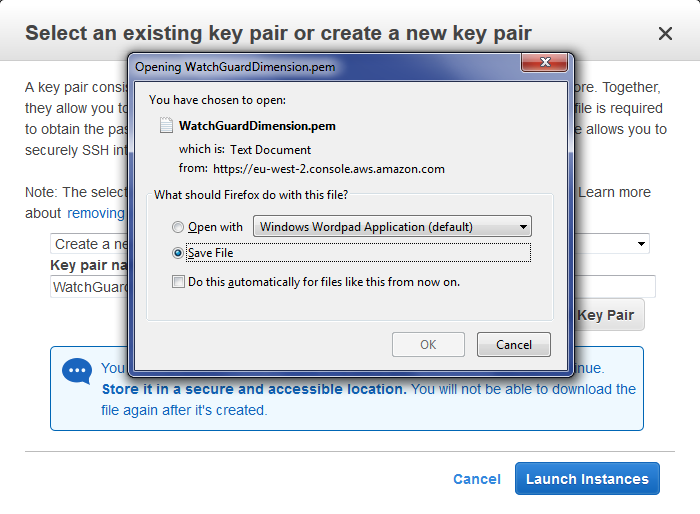
6. Next Select Create new pair, give it a name and select Download Key Pair. Save the Key in a secure location and then select Launch Instances.
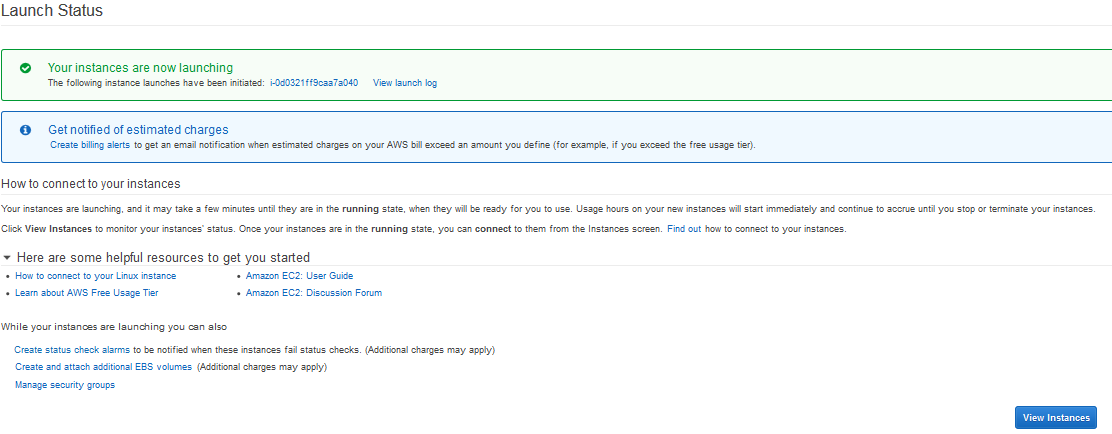
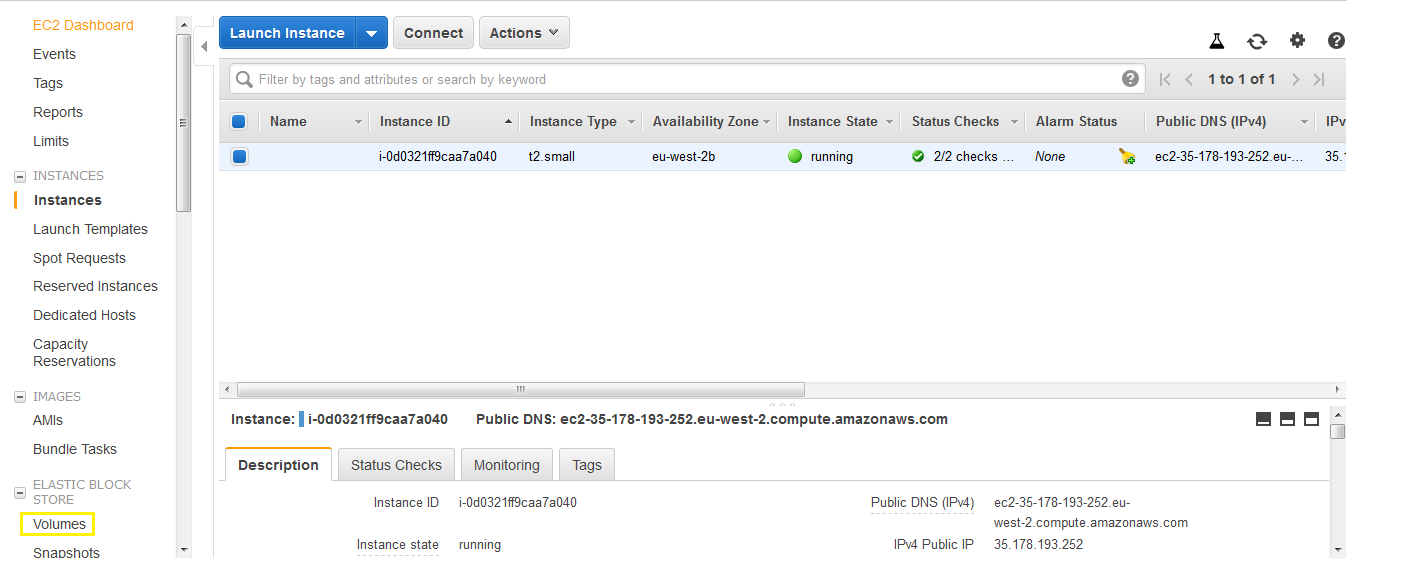
7. Once confirmed that your Instances are launching then select View Instances on the bottom right of the page.
8. You should now see a screen like the below, we now need to add the storage, select Volumes on the left menu.
9. Now select Create Volume, be careful to note which zone your current instance is in below as we need to create the new volume in the same zone.

10. Select the drive as General Purpose, we are creating the Volume here as 30Gb, but you may want to adjust this depending on how many Fireboxes you are going to be logging/Managing, see here for more info WatchGuard Dimension Sizing considerations . Note we change the Zone to match.

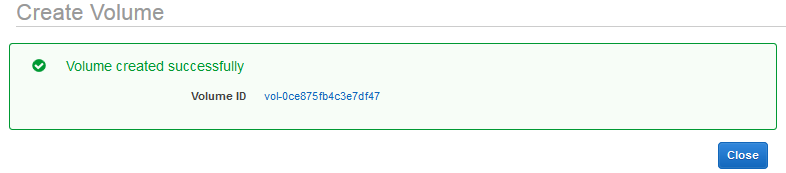
11. You should now see the Volume has been created as below.
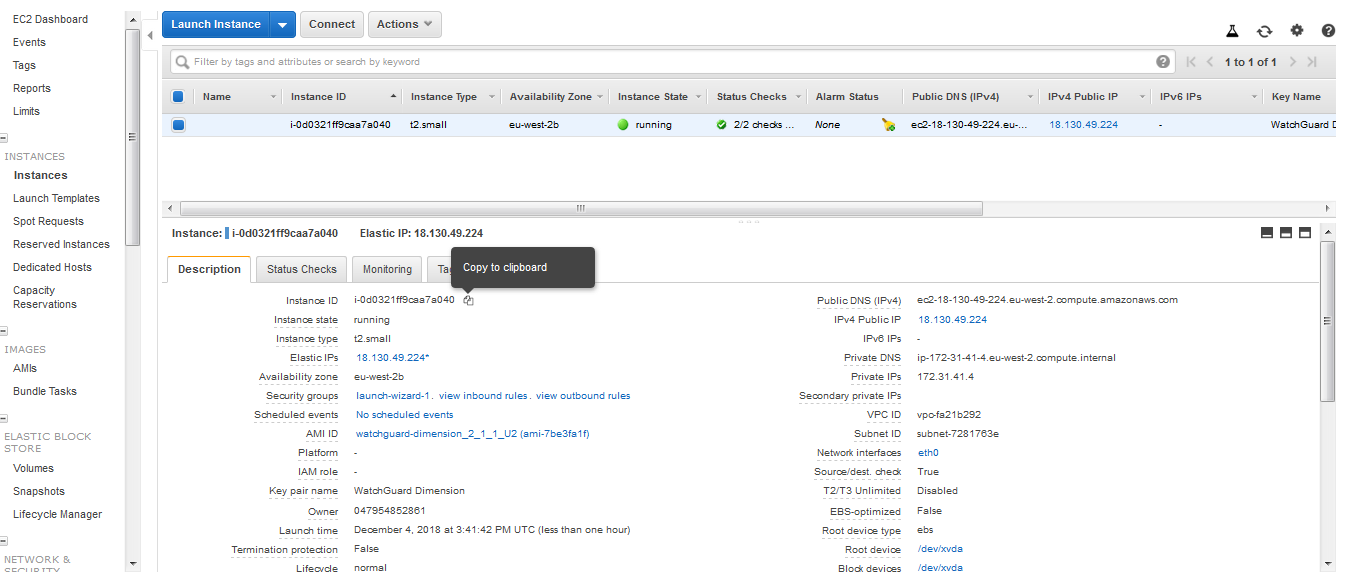
12. We now need to attach the new Volume to the Instance to do this go to Instances and copy your Instance ID like below.
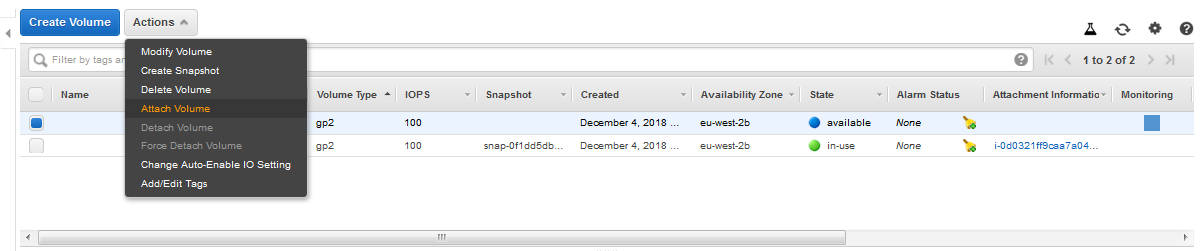
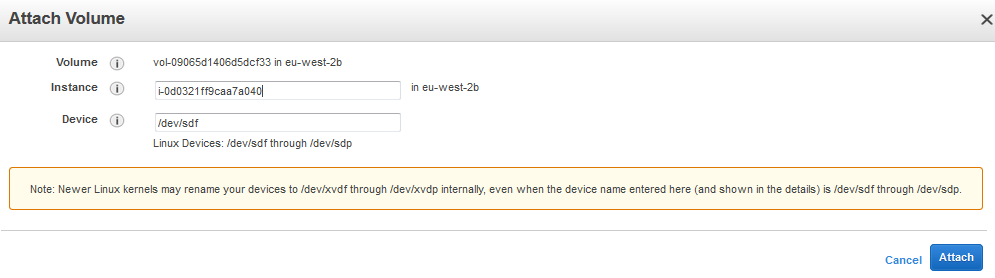
13. Now go to Volumes, select the volume and then Actions then choose Attach Volume.
14. Enter the ID in the popup like below and select Attach.
15. Now we need to Make sure the Instance always has a Static IP, to do this we need to add an Elastic IP address. From the Menu on the left select NETWORK & SECURITY/Elastic IPs.

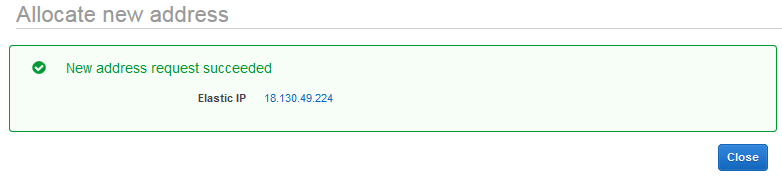
16. Select Allocate.

17. You should now see the Address created.
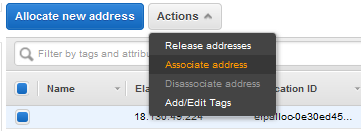
18. We now need to associate the IP address to the Instance, select Actions and Associate address.
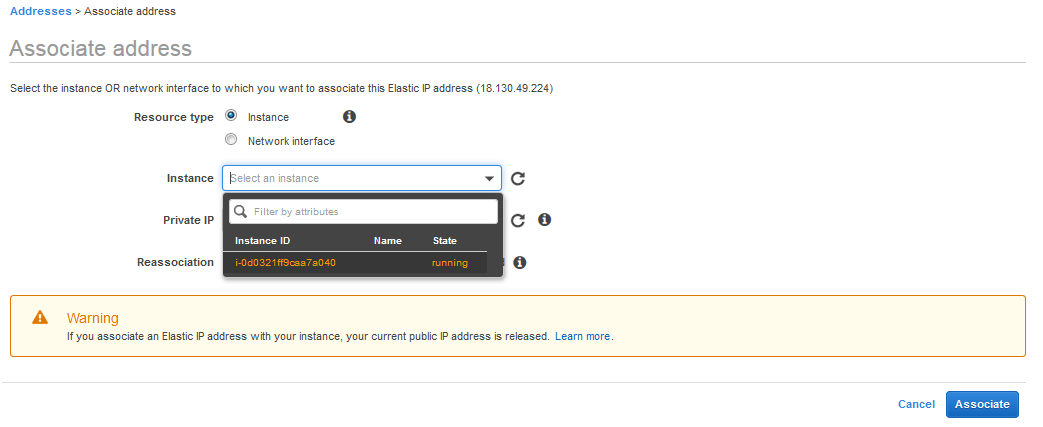
19. Select the Instance and leave everything else as default, then click the Associate button.
20. You will now see it has completed.

21. You can now see if you go to Instances in the menu that your instance is using this IP address now.

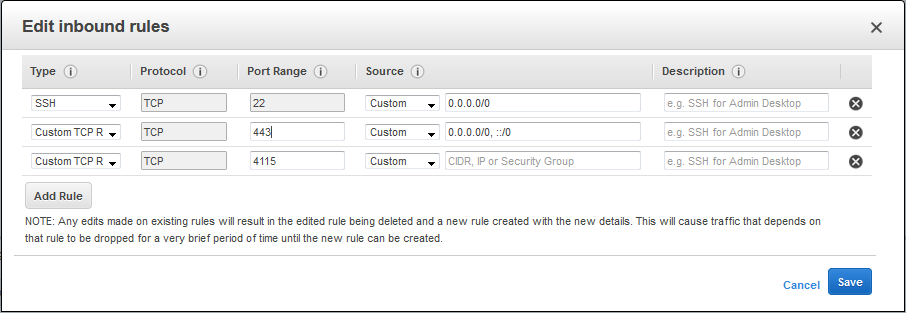
22. We now need to create the rules to allow Remote Management and logging, if you go to NETWORK & SECURITY/Security Groups, select Actions and Edit Inbound Rules.

23. You need to Add the following ports below (443 and 4115).
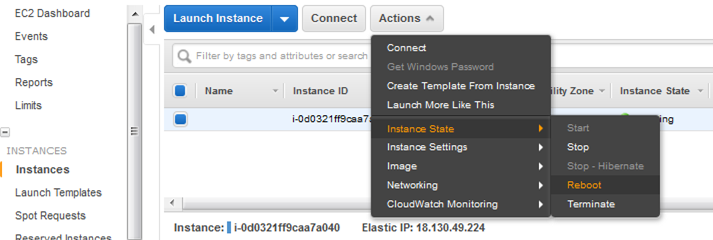
24. We now need to restart the Instance before we login, Select Instance/Actions/Instance State and then Reboot, it should be about 30 seconds before you can login.
Setting up WatchGuard Dimension and adding Fireboxes to Manage or log.
1. If you now load up your Browser you will see the below, choose continue to website (this is just because there isn’t a public certificate attached). You will now see the WatchGuard Dimension login screen, you can now login using admin for the user name and readwrite for the password.
2. You will now be presented with the setup wizard.

Adding Fireboxes to Dimension for Dimension Command.
With Dimension Command you can fully manage your remote Fireboxes, create configuration backups, roll back configurations and more.
To be able to use Dimension command you need to have purchased a Total Security suite or as a standalone license.
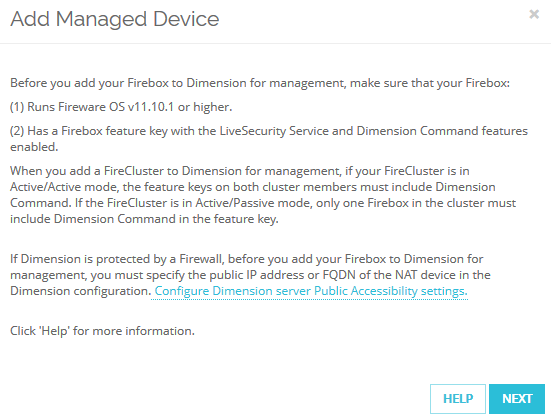
3. Once you have logged on you will see the screen below, select ADD.

4. Make sure that you have the correct Dimension Command licenses on your Firebox before you continue.
5. The best method to choose is Manually enter an existing device as it doesn’t matter if the remote Fireboxes haven’t got static public IP addresses, add the Device Name of the Firebox and the Serial Number.
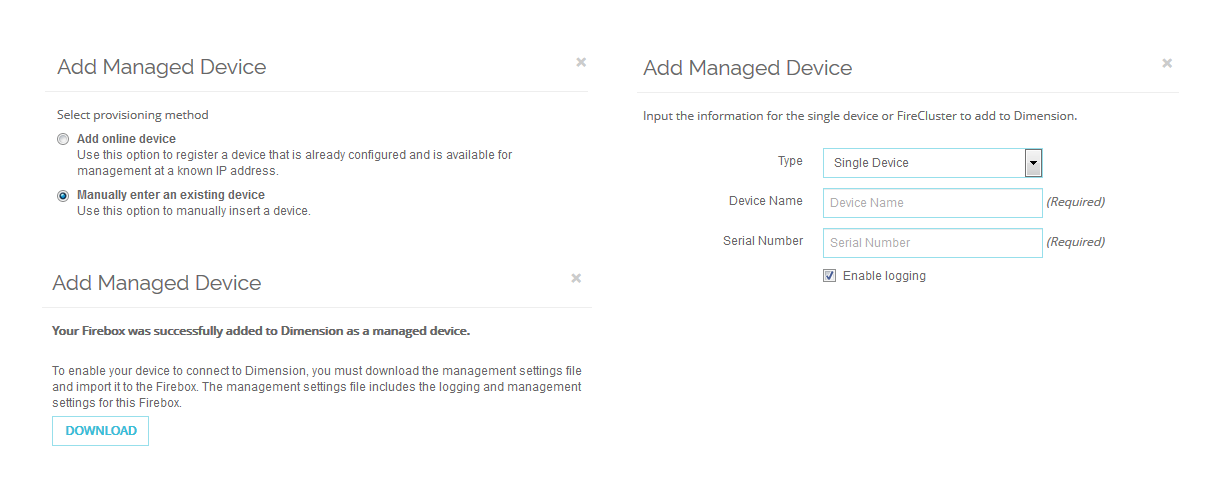
6. You will now need to download the WGD file, to import in to the Firebox. Log in to your firebox, go to System/Managed Device, select Enable Centralised Management as below and browse to the WGD file you have downloaded select Import and then Save.
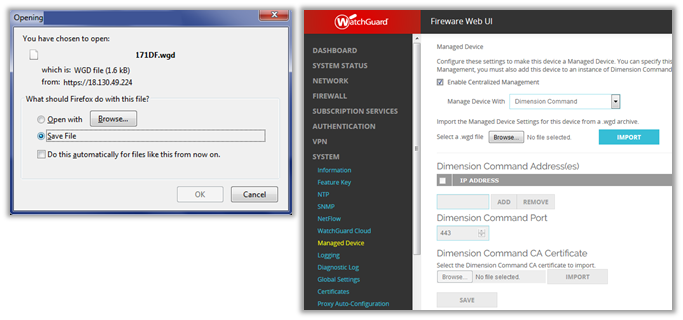
- Your Firebox has now been added for Management and logging, you can see in the below image that the Dimension Command address has been added and everything is greyed out.

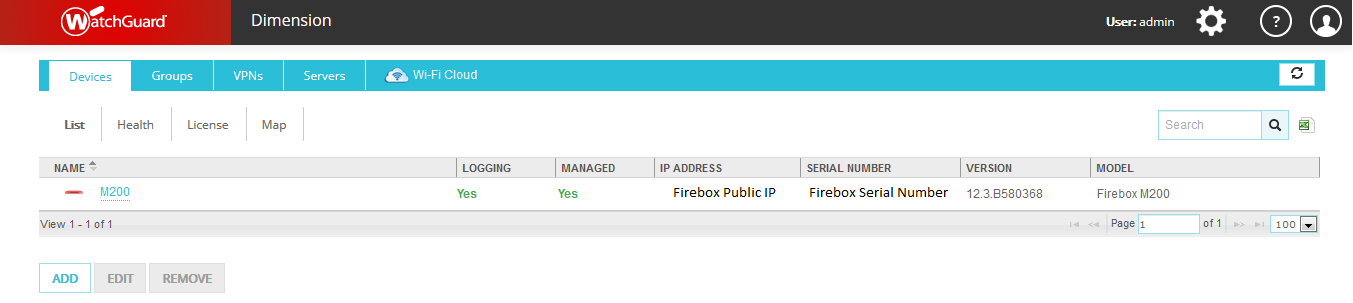
- The Screen below in Dimension Command shows that the Firebox has been added, the real Public IP and Serial Number have been removed below, but it will show your real details there.
- To Manage the Fireboxes and review and retrieve customs logs etc. you will need to review these documents Linked below.
Dimension Home Pages
Device Summary
Manage Device Configuration History (Firebox Configuration Snapshots)
About Dimension Reports
Copyright NetThreat Ltd
By Preston Keel